Setting a PHP Project in Jenkins

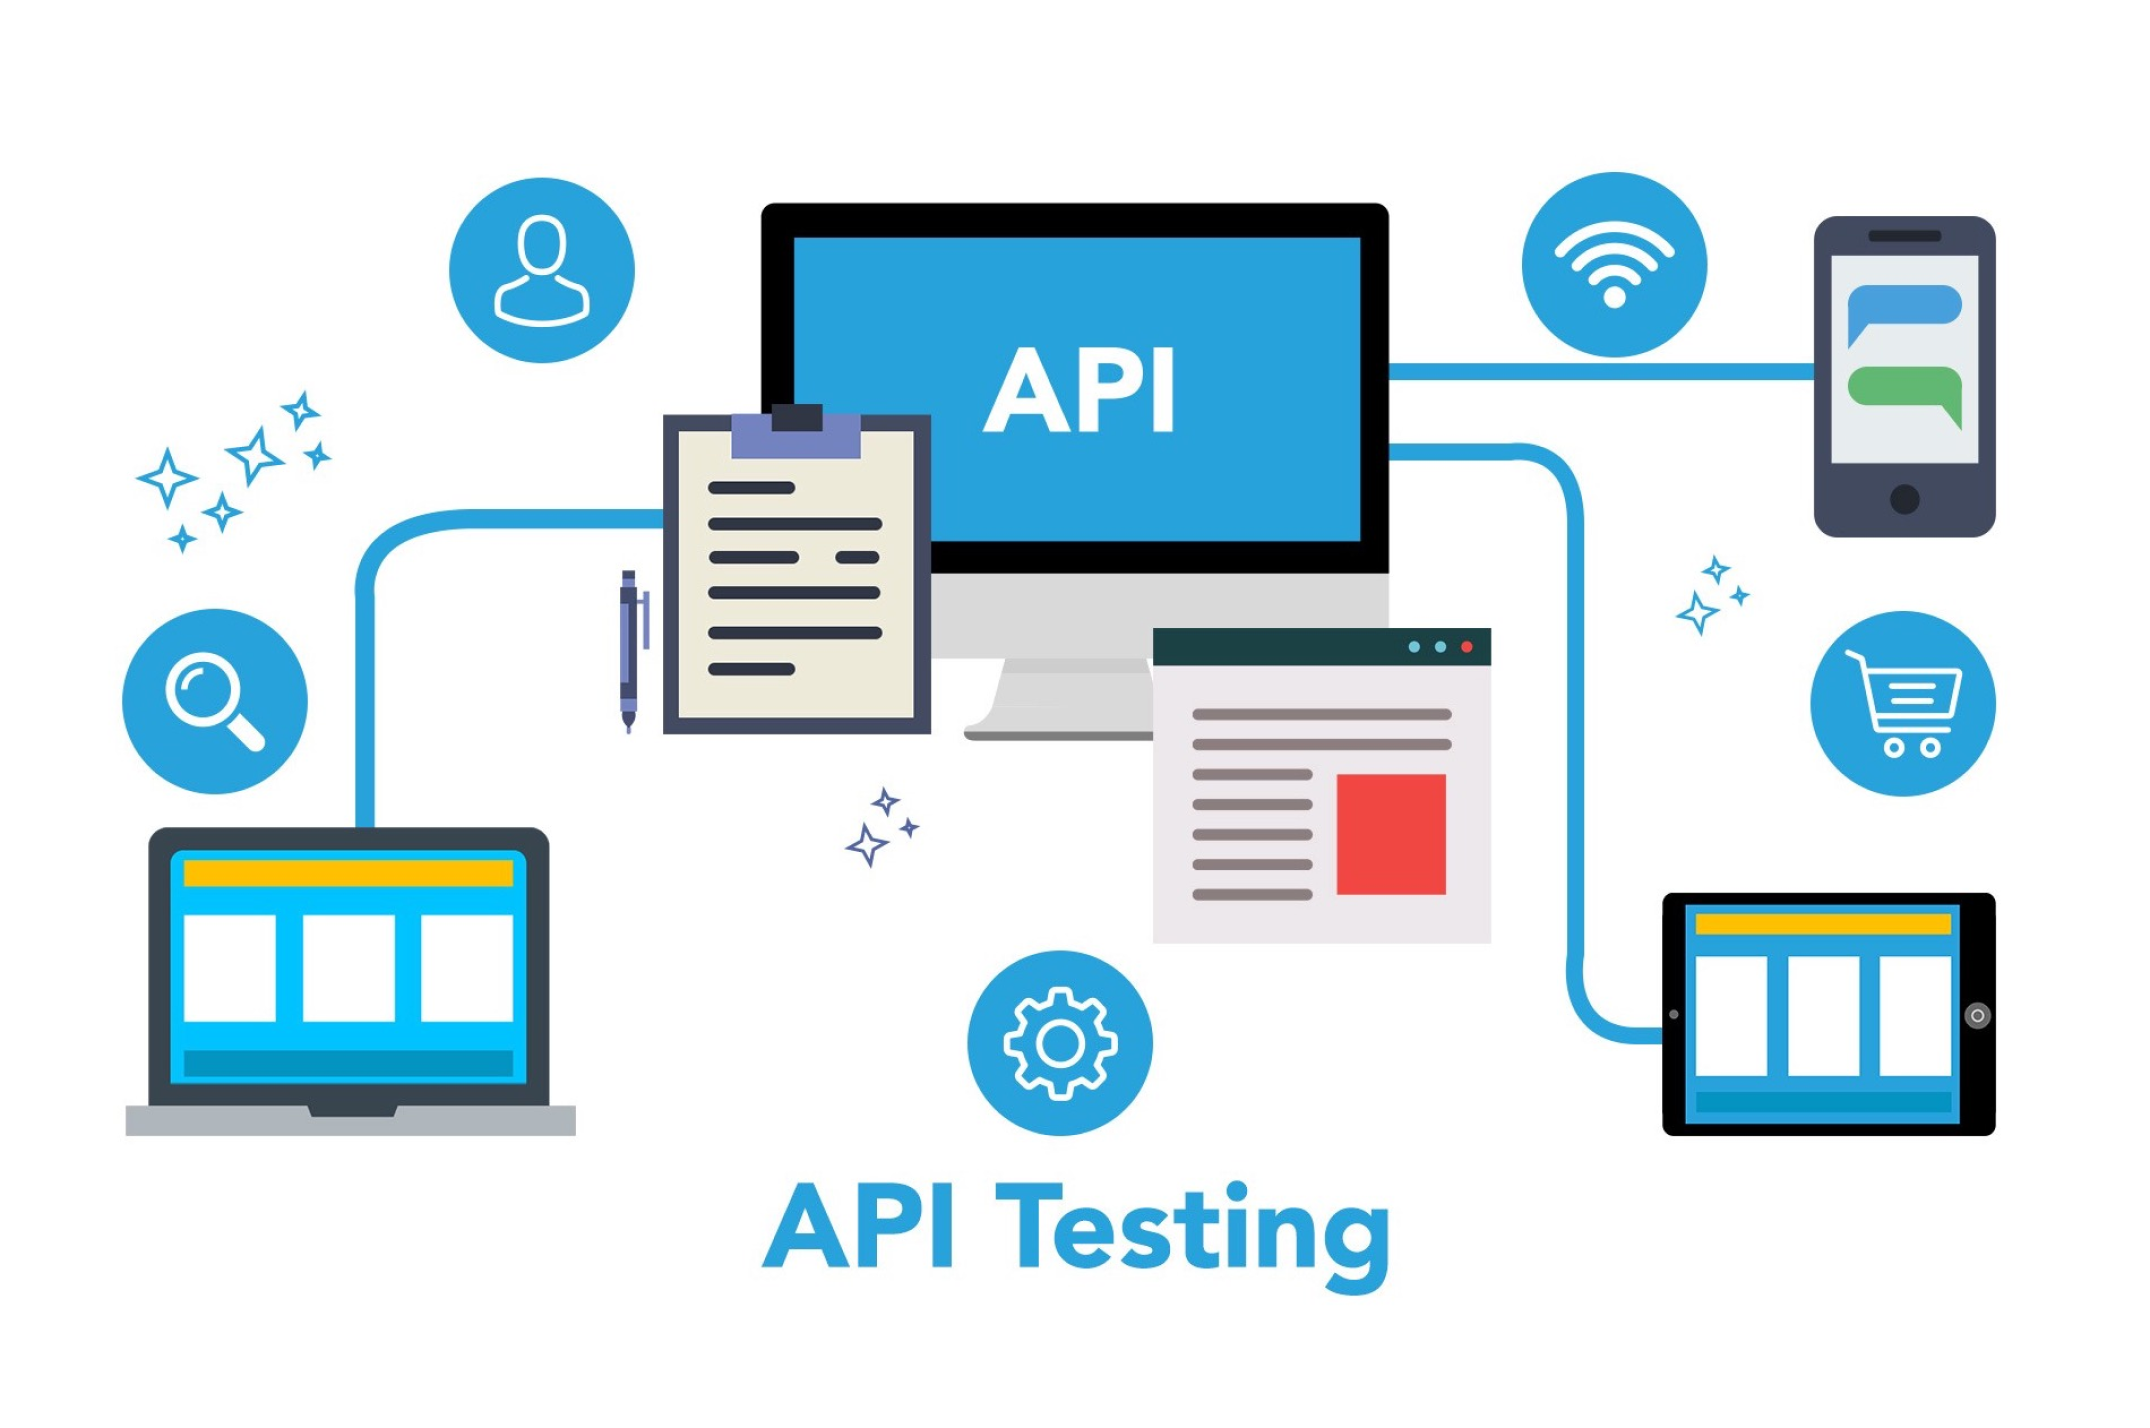
Continuous Integration (CI) is the process by which a developer makes his/her contribution a part of the whole and ensures that it fits well in the whole, regularly. Using CI, its easy to cross-check all the updates/check-ins into the project automatically with pre-defined validations. Their are number of CI tools available that are either free or very cheap.Most popular CI tools available are Jenkins, Travis CI, Cruise Control, Teamcity etc.After some deliberations and discussion I short-listed Jenkins to use for CI in one of our PHP projects. Here are my experiences for the benefit of any one else trying to accomplish the same.

First time ever when I started evaluating Jenkins, following questions came to my mind:-

A) How to install Jenkins with basic configuration?

B) Plugins used to build a PHP project?

C) How to create a PHP project in Jenkins?

A. Commands used to install Jenkins in Linux:-

  1. yum install -y wget
  2. sudo wget -O /etc/yum.repos.d/jenkins.repo http://pkg.jenkins-ci.org/redhat/jenkins.repo
  3. sudo rpm –import https://jenkins-ci.org/redhat/jenkins-ci.org.key
  4. sudo yum install jenkins
  5. sudo yum install java-1.7.0-openjdk
  6. firewall-cmd –zone=public –add-port=8080/tcp –permanent
  7. firewall-cmd –reload
  8. sudo /etc/init.d/jenkins restart
  9. systemctl restart jenkins.service
  10. Open http://localhost:8080 URL in browser and the below screen will open. It shows Jenkins is installed and running successfully.

B. Their are number of php plugins, the following are the basic ones those can be used:-

  • PHPUnit : – allows running automated tests on code (required).
  • PHP_CodeSniffer : analyse our code and detect errors in the coding standards.
  • PHPLOC : is used to analyse the size and structure of the code.
  • PHP_Depend : does static code analysis and provide metrics to evaluate the quality of code.
  • PHPMD : detects problem in the code. For analysis it use s the PHP_Depend analysis data.
  • PHPCPD : detects the duplicacy or copy/paste instances throughout the code base.
  • Clover PHP Plugin : used to provide code coverage reports from PHPUnit.
  • xUnit Plugin : This tools is used to publish the build execution results into Jenkins tool.

C. Set up PHP job into Jenkins:-

Before doing that, we have to check whether Ant installed on our server or not. If not, please install it.

Commands used to install Ant in Linux:
  1. sudo apt-get install ant
Now, what is ANT?

It helps in automating the software build process. It reads and processes a configuration file (contains tasks to be performed), also defines our project’s dependencies. Most used ANT configuration file name is build.xml. I also created the same and added to our project, so that Ant will work during Jenkins build creation process.

PHPUnit Configuration:

We can also configure the PHPUnit XML details into build.xml. So during the build process, the PHPUnit xml configuration also gets processed and the PHP unit test cases will be executed.

After all these set-ups, lets start creating/configuring our first PHP job in Jenkins.

Step 1: Click on “New Item” from the left menu. Enter the Item Name like “testPHPProject” and select “Freestyle project” option and hit the “OK” button.

Step 2: A new project with name “testPHPProject” created and its configuration page opens. Here we need to configure our PHP project.

In below screen, basic details are shown which has to be filled to configure the project. The details are as follows:-

1: In “Source Code Management” section, we have to provide how would Jenkins fetch the code base. For example, from GIT or the File System. Here, I have shown an example using a File System.

2: In “Build Triggers” section, we specify which method should be used for automatic build creation. If we have used GIT as “Source Code Management” tool, then we can choose an option to create build when anything changes in the repository. But in our example, we selected “Build periodically” and added vaue as “0 14 * * *”, which means everyday at 2 PM the build creation process will be started.

3: In “Build” section, a number of “build step” options are provided. Here since we are using Ant for build process, please choose “Invoke Ant” option and provide the absolute path of the Ant configuration file path in “Build File” textbox.

4: Jenkins also provides an option to add multiple “Post-build Actions”. Using this we can add multiple actions like Publish HTML, JAVADoc, Clover PHP coverage report and many others.

Here, I have chosen “Publish Clover PHP Coverage Report”. To publish it we have to provide the Clover XML Location.

Step 3: Click Save. The project will be configured.

Step 4: Click use Build Now option to create our first project build.

Your Guide to API testing: Postman, Newman & Jenkins

API testing is a type of software testing wherein an engineer tests not just the functionality but performance, reliability and security for an application. APIs are tested to examine if the application would work the way it is expected to, as APIs are the core of an application’s functionalities.

What Is API Testing?

API testing during development can reveal issues with API, server, other services, network and more, those which one may not discover or solve easily after deployment.

However, testing APIs is difficult. Instead of just verifying an endpoint’s response, one can have integration tests with Postman to examine and validate the responses. Teams these days may also want to automate running these tests as soon as a deployment is done. One approach we can take is to have our integration tests run every time a developer checks in code to the repo.

Adding this layer of Quality check, can ensure that the existing functionalities still work the way they were expected to, with an additional benefit for the developers to validate that their code is doing exactly what it was intended to.

Tools for API test automation in CI

CI refers to continuous integration. Integration of test scripts and a test tool with the continuous build system where the test scripts can be run along with every new deployment or on a regular basis (daily, weekly or fortnightly)

  1. Postman: Integration tests with Postman.
  2. Newman: Create a PowerShell file that runs these integration tests via command line.
  3. Jenkins: Add a Post Build step in Jenkins to execute the PowerShell script whenever a build is initiated.

How to use Postman with Newman & Jenkins for Continuous Integration


API Selection

I have implemented this procedure in our Project using the GPS APIs, but for instantiating here, let’s take up the following APIs:

Open Weather Map: Free public APIs.

I chose this as it is a free collection of APIs that anyone can subscribe to and have their own API keys to operate with.

Create Integration Tests

For the first test, let’s take up a simple GET request to get Weather by ID. To interact through the APIs, make sure to use the API key received on subscribing to the OWM services.

Steps to First Integration Test

Make an environment on Postman say, ‘Weather Map’ and define the environment variables in it. [Refer ‘Managing environments’].

Add the Prerequisites in the Pre-Req tab to set up the test.

Collections

Like the above API tests, one can have multiple test scripts for multiple endpoints. And these multiple test scripts can be run in sequence to have an end to end test suite. The way to have a test suite is to keep multiple test scripts in a place holder called as a Collection in Postman.

These collections can then further be executed through the collection runner in the tool.

Collection Runner

A collection runner can be used to have a collection of API endpoints with their test scripts at one place and therefore run them one by one in a sequential manner. The user just needs to run the collection just once with all the required test data, test scripts and for as many iterations one may want. The result of the collection run is a test report, comprehensive enough to monitor the performance of the APIs and also to re-try running the failed test scripts.

For elaborate study on Collection Runners, refer Link.

Though the user interface of Postman’s collection runner is good enough, yet, to integrate the system with Jenkins, we need to run our collections via command line. So, a way to run collections via the command line is through Newman.

Newman

Newman is a Node Package Manager (NPM) package that permits us to run and test collections directly from the command line.

Pre-requisites:

  • NodeJS and
  • NPM already installed.

Commands to be run on Windows Powershell

  • node -v [to verify the version of NodeJs installed]
  • npm -v [to verify the version of NPM installed]
  • $npm install -g newman [to install Newman]

Once the required installations are done, one needs to have his collections and Environment exported to JSON files in the local system. These files can then be passed as arguments to Newman.

Steps to get the environment and collections on the local system:

  • Click on the Download and Export button in Postman.
  • Download the collection
  • Download the environment
  • Open command prompt and raise your privileges. This is important for you to execute the script.

Adding Postman Tests to Jenkins

Testing REST APIs with Newman | R-bloggers

We first need to export our Postman files (Environment and Collections) and add them to GIT, along with our Powershell script to run the tests through Jenkins build.

“Add the Postman files to the root of the project.”

Telling Jenkins to run Newman

For this we write a script that calls Newman and passes it the Environment and Collection JSON files.

–  ‘exit $LASTEXITCODE’: On typing this command, you will see the result of the last command. We do this to make sure that on every loop, the Newman command is successful. If any of the tests fail, we have to stop the script and exit 1. It will result in a failed build on Jenkins.

Adding Script to Jenkins

Steps:

  • Login to Jenkins and create a Freestyle Project.
  • Start by configuring this project to pull your repo code from Git.
  • In the General Tab, go to build section

Running the build and monitoring Results

Try running the project and examine the results.

One can make out successful entrance into the powershell script with the statement ‘Inside Powershell script’ in the Jenkins output.

Conclusion

Improving continuous integration utilizing Postman, Newman and Jenkins adds another layer of quality assurance into our development life cycle. While this is a huge step in automation, we need to emphasize on the fact that our test coverage depends on the quality of our test scripts.

error: Content is protected !!