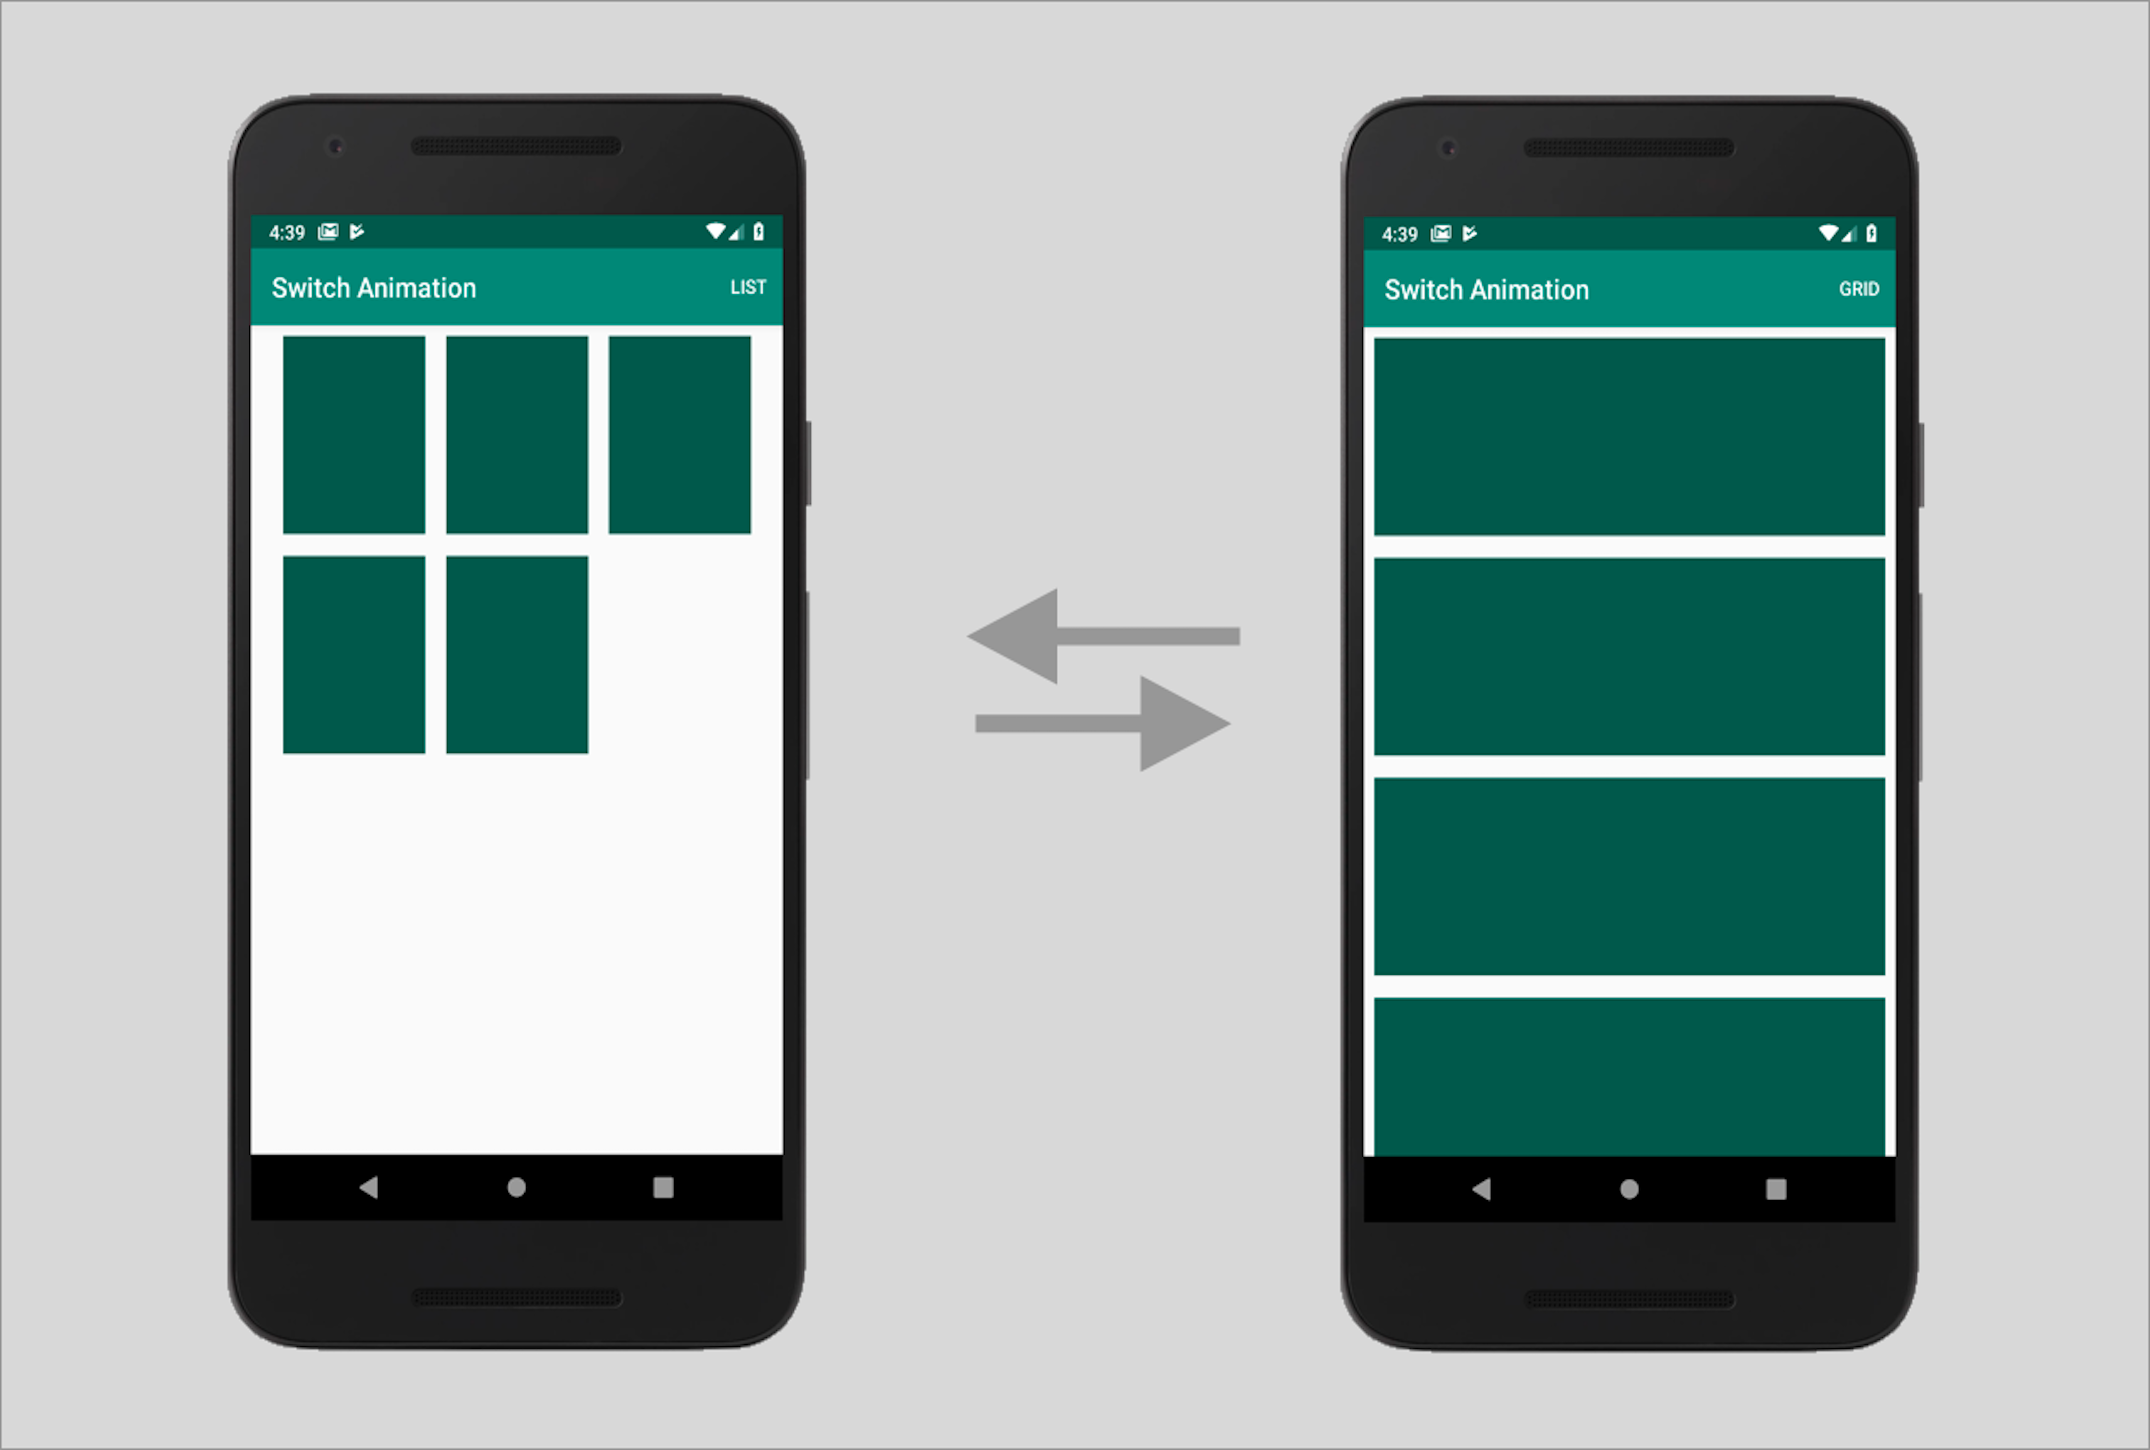
Before Android 5.0, transition effects across Activities were available, but they would animate the entire root view of our screen. Using shared element transitions, we can animate any number of views, regardless of their view hierarchies.

Now, let’s see how we can implement shared element transitions in our Android apps-
Step 1 : Enable Window Content Transitions in styles.xml
Step 2: Set a Common Transition Name for Respective Views on Both Screens
For the transition to work across screens, you have to assign a common transition name to the shared elements (views) in both layouts. The views don’t have to be of the same type or have the same id, only the transition name must be same.
The transition name can be set using the android:transitionName attribute in xml or using the setTransitionName() method in Java.
Step 3: Open Activity with Element Transition
In order to get the transition effect, you have to specify a bundle of the shared elements and view from the source activity while starting the target activity.
When we specify the source view along with its corresponding transition name, it ensures that even if multiple views exist in the the source view hierarchy with the same transition name, it picks the correct view to start the animation from.
While specifying multiple shared elements transitions, make sure that you import android.support.v4.util.Pair. Please ensure that you do not overdo the transitions, as that can distract the user and degrade the user experience.
Step 4: Close Activity with Reverse Element Transition
In order to get the reverse element transition effect while finishing the second activity, you need to call the Activity.supportFinishAfterTransition() method instead of the Activity.finish() method. Also, you need to make sure that you override the Activity finish behavior everywhere in your activity, for example if you have a back button in your Toolbar or if the user presses device’s back button.
Shared Elements Transitions with Fragments

We can achieve shared elements transitions with Fragments as well.
Step 1: Set a Common Transition Name for Respective Views on Both Screens
Step 2: Define a Custom Transition:
Step 3: Specify the Shared Elements Transition in FragmentTransaction:
Custom Shared Elements Transitions:
In Android Lollipop (Android 5.0), the default shared elements transition is a combination of 4 transitions:
- Change Bounds – It captures the layout bounds of target views before and after the scene change and animates those changes during the transition.
- Change Transform – It captures scale and rotation for Views before and after the scene change and animates those changes during the transition.
- Change Image Transform – It captures an ImageView’s matrix before and after the scene change and animates it during the transition.
- Change Clip Bounds – It captures the getClipBounds() before and after the scene change and animates those changes during the transition.
In most cases, the default transition is sufficient. However, there might be cases in which you might want to customize the default behavior and define your own custom transitions.
You can set the window content transitions at runtime by calling the Window.requestFeature() method.
Exclude Elements from Window Content Transitions
Sometimes you might want to exclude the use of the status bar, ActionBar and navigation bar from the animation sequence. This might be particularly required when your shared elements are drawn on top of these views.
You can achieve this by excluding these elements from the transitions. This can be done by adding a <target> tag and specifying the ID of the element you want to exclude.
Shared Elements Transitions with Asynchronous Data Loading
There might be cases when the shared elements require data that might be loaded from a web API or URL. The most common example is when a URL needs to be loaded into an ImageView which also happens to be the shared element we want to animate. However, the shared element transition might get started by the framework before that data is received and rendered.
We can overcome this by temporarily delaying the transition until we know that the shared elements have been rendered with the fetched data.
We can delay the shared element transition by calling postponeEnterTransition() (For API >= 21) or supportPostponeEnterTransition() (For API < 21) in your second Activity’s onCreate() method.
Once you know that the shared elements have been rendered with the data, you can call startPostponedEnterTransition() (For API >= 21) or supportStartPostponedEnterTransition() (For API < 21) to resume the paused transition.
We can start the paused transition in an onPreDrawListener which is called after the view layout and before the view is about to be drawn.
Results
You can expect to see something like this once you are done with all of the steps above.


